How to Change a Light Bulb in a Ceiling Fan: A Step-by-Step Guide
Introduction:
When you’ve ever found yourself staring at a flickering light in your ceiling fan, a burned-out bulb, you’re alone. Changing a light bulb in a ceiling fan might seem like a easy task, but there are nuances to it that can make the simple process a bit tricky. Fear not! In this comprehensive guide, we will walk you through the some steps to replace a light bulb in your ceiling fan. From understanding the type of bulb to choosing the right safety measures, we’ve got you covered.
-
Identifying the Light Bulb Type:
Before you embark on the mission to replace the light bulb in your ceiling fan, it’s difficult to identify the type of bulb your fan uses. Ceiling fans typically accommodate various bulb types, including LED, CFL, or incandescent. Refer to your ceiling fan’s manual or check the existing bulb to ensure you purchase a compatible replacement.
-
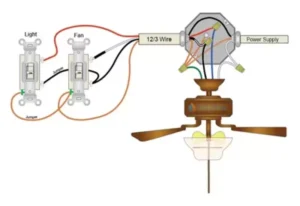
Turning Off the Power:
Safety first! Before attempting to change the light bulb, turn off the power to the ceiling fan. Locate the switch on your circuit breaker or use the wall switch to cut the electricity to the fan. This precautionary step ensures you can work on the light fixture without the risk of electrical shock.
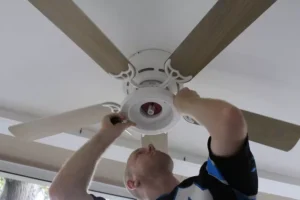
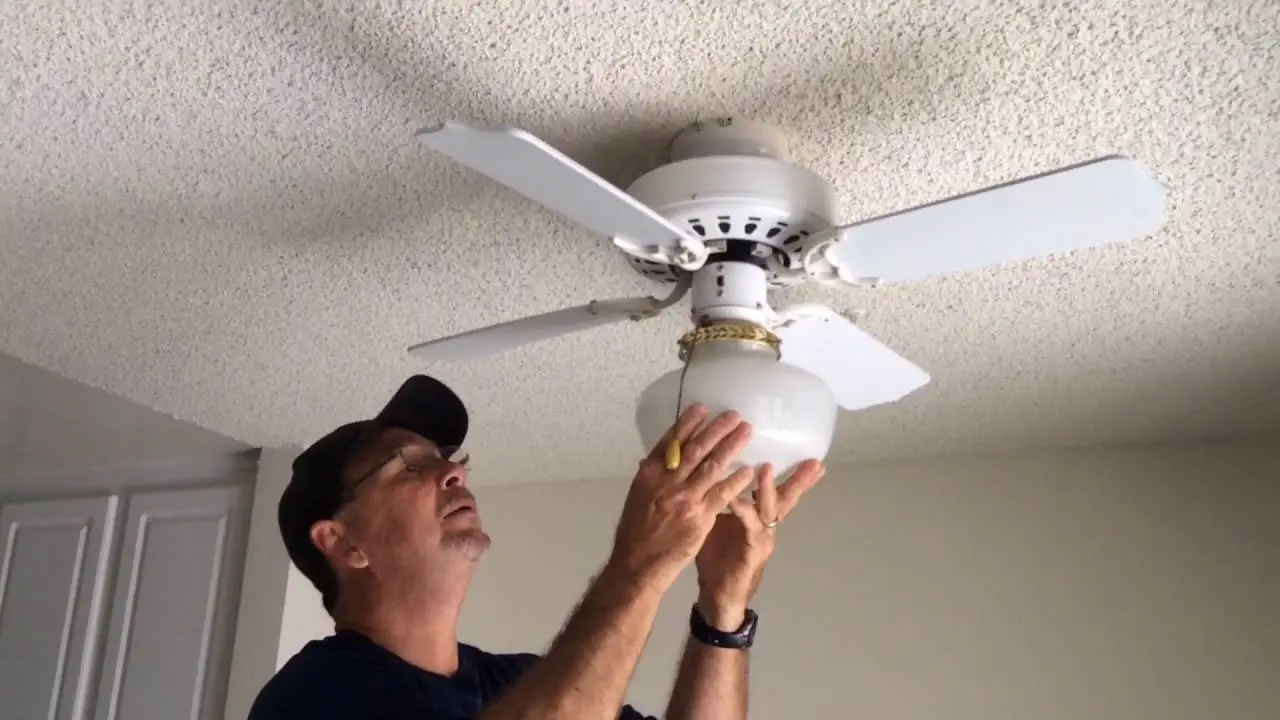
III. Accessing the Light Bulb:
Once the power is off, it’s time to access the light bulb. Different ceiling fans have varied mechanisms to encase the bulbs. Follow these general steps:
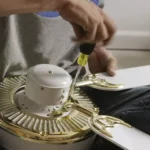
- Twist Off Light Cover:
- Gently twist the light cover counterclockwise to release it from the fan.
- Place the cover in a safe spot to avoid breakage.
- Unscrew Light Bulb:
- If your ceiling fan uses a screw-in bulb, carefully unscrew the old bulb in a counterclockwise direction.
- Use caution when handling a potentially hot bulb.
- Remove Glass Globe:
- For fans with a glass globe, look for screws or clips securing it in place.
- Loosen these screws or unclip the globe to expose the bulb.
- Changing the Light Bulb:
Now that you have accessed the light bulb, it’s time to replace it with a new one.
- Choose the Right Bulb:
- Select a bulb with the appropriate wattage and type recommended by the fan’s manufacturer.
- Consider energy-efficient options like LED bulbs for longevity.
- Screw in the New Bulb:
- Carefully screw the new bulb into the socket in a clockwise direction.
- Ensure it is securely in place, but avoid over-tightening.
- Reassemble the Light Fixture:
- If you removed a glass globe or light cover, carefully secure it back in place.
- For screw-on covers, twist them clockwise until snug.
- Troubleshooting Tips:
In case you encounter challenges during the process, here are some troubleshooting tips:
- Ceiling Fan Light Bulb Stuck:
- If the old bulb is stuck, use a gentle rocking motion while unscrewing to loosen it.
- Avoid excessive force to prevent breakage.
- Ceiling Fan Light Globe:
- Clean the glass globe before reattaching to ensure optimal light transmission.
- Check for any cracks or damage to the globe that may need replacement.
- Navigating Specific Ceiling Fan Models:
For those with Hunter or Hampton Bay ceiling fans, the process might have unique steps:
- How to Change Light Bulb in a Hunter Ceiling Fan:
- Consult the specific manual for your Hunter fan model.
- Hunters often have twist-off light covers for easy access.
- How to Change Light Bulb in Hampton Bay Ceiling Fan:
- Hampton Bay fans may have clip-on glass globes.
- Gently release the clips to access the light bulb.
VII. Safety Measures:
Working with electricity always demands caution. Here are some safety measures to keep in mind:
- Turn Off Power:
- Always turn off the power before attempting any work on electrical fixtures.
- Confirm the power is off using a non-contact voltage tester.
- Use a Safety Ladder:
- Ensure the ladder you use is sturdy and positioned on a flat surface.
- Never overreach or stand on the top rungs of the ladder.
- Dispose of Old Bulbs Properly:
- If the old bulb is incandescent, allow it to cool before disposal.
- Consider recycling options for CFL and LED bulbs.
Conclusion:
Changing a light bulb in a ceiling fan may not be difficult, but understanding the nuances can save you time. By following this step-by-step guide to safety measures, you’ll illuminate your living space with confidence. Don’t let a flickering bulb dim your day – brighten it up by mastering the art of changing light bulbs in your ceiling fan. Happy lighting!