IDentify: 7-Not Unusual Ceiling Fan Issues and Clean DIY Fixes
Introduction:
You return home from paintings, flicking at the ceiling fan for some cool comfort – only to pay attention an irritating squeaking noise or see it wobbling unevenly. Ceiling fan troubles like those aren’t handiest stressful however can suggest underlying malfunctions or defects that want attention. the best information is that many not unusual ceiling fan problems can be resolved via simple DIY troubleshooting and fixes, saving you from the trouble and fee of calling a professional.
On this comprehensive guide, we’re going to explore 7 of the most frequent ceiling fan issues and offer clean step-through-step solutions to get your fan again in proper functioning order. whether or not it is a loud racket, wobbling blades, far off manage failure, or lack of air flow, you will discover ways to diagnose and mend the trouble your self. permit’s dive in!
1. Squeaky or Noisy Ceiling Fan
Few ceiling fan problems are as irksome as one which emits an incessant squeaking, grinding, or clicking sound with every rotation. those noises are normally because of loose additives, loss of lubrication on shifting components, or unbalanced fan blades.
To silence the squeaky din:
1. Tighten all screws and bolts – Over the years, the constant spinning and vibrations can loosen the ceiling fan’s assembly. Use a screwdriver or wrench to firmly tighten any loose screws, bolts, or different hardware securing the blades, motor housing, and putting mount.
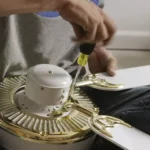
2. easy and lubricate moving elements – Dirt, dust, and absence of lubricant reasons improved friction on the fan’s internal mechanisms and bearing components. follow your producer’s recommendations, however you could generally:
– Use a small amount of machine oil or lithium grease on the motor shaft and bearing caps
– Lightly lubricate down-rod ball bearings with spray lubricant
– Wipe away any built-up grime or debris
- Balance the blades – Uneven, misaligned blades are a leading reason for noisy operation. Most fans come with a balancing kit or you can buy an inexpensive one. The kit will have weighted clips you attach to the blades, compensating for any imbalances until the wobbling/noise stops.
- Blade replacement – If cleaning/balancing doesn’t help, one or more warped or damaged blades may need replacement.
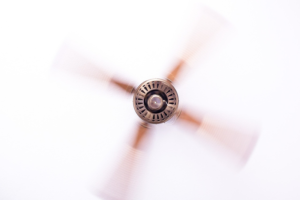
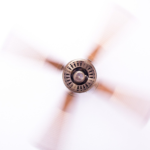
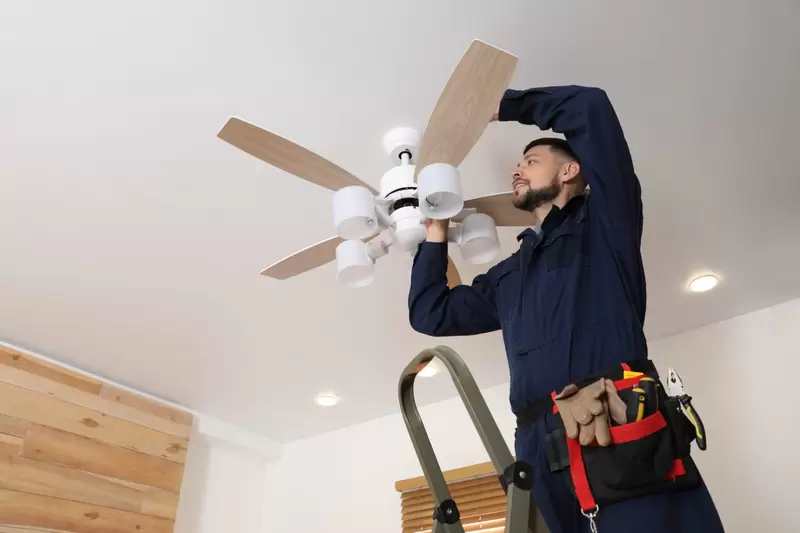
2. Wobbling or Unbalanced Fan
Speaking of wobbling, an unbalanced or shaky ceiling fan is both unsightly and potentially dangerous if it becomes too extreme. Typical causes are uneven blades, loose components, or improper installation.
Here are the DIY steps to stop the wobble:
- Check the hanging mount – Ensure the mounting bracket that suspends the fan from the ceiling is secure and tight. Any looseness here will translate into a wobble.
- Use a balancing kit – As mentioned, these kits with weighted clips allow you to balance out uneven blades causing wobbles. Follow included instructions.
3. Tighten all screws/bolts – Grab your screwdriver and hand-tighten any free screws at the blades, blade holders, and fan body/motor meeting.
This visible diagram highlights some not unusual areas which can purpose wobbling if loose or unbalanced on a ceiling fan.
properly balancing the fan no longer most effective stops traumatic wobbles however also prevents immoderate shaking that may harm the motor mounts and lead to premature failure of the unit.
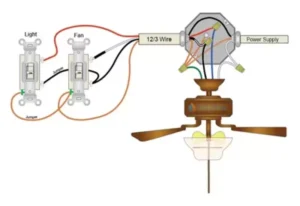
3. Fan now not running or won’t activate
One of the most frustrating ceiling fan issues is whilst it in reality would not work at all – the fan won’t activate or spin whilst you turn the switch or pull the chain.Potential culprits include:
– Bad light/fan control switch
– Broken wiring or disconnected wires
– Tripped circuit breaker or fuse
– Issue with the fan’s motor or capacitor
To troubleshoot when your fan fails to start:
- Check circuit breaker – Make sure the breaker that your fan is wired to hasn’t tripped. If so, reset it.
- Inspect wiring – Turn off power, then examine all wiring leading to the fan. Look for loose, disconnected, or damaged wires and re-secure connections as needed.
- Test switch – Use a circuit tester to verify the control switch (pull chain or wall switch) is receiving power and functioning properly. Replace if faulty.
- Capacitor test – The start/run capacitor provides an initial torque boost for the fan motor. If it’s failed, the fan won’t start spinning. You can test and replace this cylindrical component.
If those steps don’t get the fan running, the motor itself is likely the problem, which requires full replacement or calling an electrician.
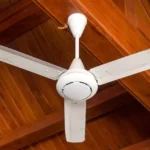
4. Fan Spins But Doesn’t Circulate Air
You’ve got the fan turning, but…not much air movement to show for it. What gives? This problem is usually caused by the fan spinning in the wrong direction, improperly angled blades, or insufficient ceiling clearance.
Try these easy adjustments:
- Reverse fan rotation – Most fans have a small switch to reverse the spin direction, optimizing it for summer (counter-clockwise) or winter (clockwise) air flow patterns.
- Adjust blade pitch – The angle of the fan blades should be around 12-15 degrees. If too vertical, not enough air will be pushed down and circulated.
- Ensure proper clearance – Ceiling fans should hang 7-9 feet from the floor, with at least 8 inches of space between blade tips and the ceiling. Too little clearance means turbulent, inefficient airflow.
Making these simple adjustments can instantly transform a lazily spinning fan into a well-circulating cool breeze machine!
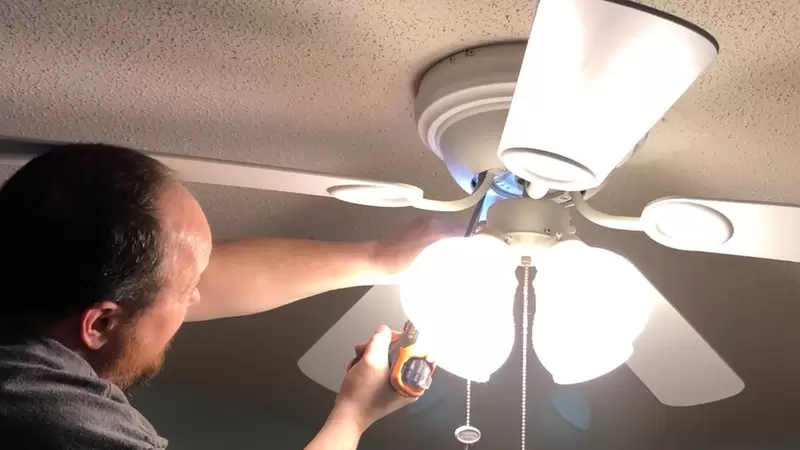
5. Lights Flickering or Won’t Turn On
For fans with integrated light kits, another frustrating issue is when the lights flicker annoyingly or simply refuse to illuminate at all. Common causes include:
– Burnt out or loose bulbs
– Faulty light kit wiring/connections
– Bad or improperly wired light kit switch
– Failed start/run capacitor for lights
First, inspect and securely tighten any obviously loose light bulbs. If that doesn’t solve it, you’ll need to take a closer look:
- Replace bulbs – Try a new set of light bulbs that match your fan’s specifications.
- Check light kit wiring – With power off, carefully examine wiring connecting the light kit. Repair any loose or damaged wires/connections.
- Test capacitor – If your fan uses a capacitor for both the motor and lights, a failed capacitor could prevent the lights from powering on properly.
If those fixes don’t get the lights working, the issue is likely an internal fault in the light kit assembly itself, requiring full replacement.
6. Remote Control Not Working
The luxury of controlling your ceiling fan via a handheld remote is a nice perk…until the remote suddenly fails to respond. This is usually caused by:
– Dead batteries in the remote transmitter
– The remote fell out of sync and needs re-pairing
– Interference from other wireless devices
Let’s get that remote working again:
- Replace batteries – Thissolves the vast majority of remote issues. Most remotes take AAA or 9V batteries.
- Re-pair remote – Find the code setting on both remote and fan receiver unit, then re-sync them by pressing code setting buttons in proper sequence.
- Check for interference – Wireless remotes can be affected by other nearby devices like baby monitors that operate on the same frequency. Try changing the remote’s code.
For step-by-step remote re-pairing instructions, consult your specific ceiling fan model’s manual. The process varies a bit between manufacturers.
7. Excessive Fan Shaking or Vibration
While a slight wobble during operation is normal for ceiling fans, excessive shaking or strong vibrations indicate a more serious problem that needs correction before further damage occurs. Main causes are:
– Loose screws/bolts and other hardware
– Unbalanced, misaligned fan blades
– Improper or loose hanging mount installation
To eliminate the shakes:
- Tighten All Screws/Bolts – Again, ensure all screws and bolts that attach fan components like the blades, motor housing, and hanging mount are completely tight.
- Use a Balancing Kit – As described earlier, these affordable kits with weighted balancing clips can evenly re-balance wobbly blades.
- Check Hanging Mount – The mounting bracket that secures the fan to the ceiling electrical box and joist needs to be solidly installed. Any looseness here creates dangerous vibrations.
Once the excessive shaking stops, your fan should operate with just slight, normal wobbling during rotation. Don’t ignore heavy vibrations as they can rapidly deteriorate components and create safety hazards.
Conclusion
There you have it – 7 of the most frequently encountered ceiling fan issues and simple DIY solutions to resolve them. Many ceiling fan malfunctions or troubles can be fixed easily by addressing loose parts, cleaning/lubricating components, balancing blades, adjusting the rotation direction, or checking light kits and remotes.
While some problems may still require professional servicing, taking the DIY troubleshooting steps outlined here can eliminate most common defects and get your ceiling fan back in optimal functioning, smoothly spinning order without the racket, wobbles or other annoying behaviors. Don’t let ceiling fan problems linger – use this guide to restore efficient cooling performance and extend your fan’s lifespan!